Monday 14 September 2020

Exhibition

Here is a video of photos from all the people who participated in my series of photography tips blog posts.
Thank you so much for joining in and allowing me to share your work I hope you all enjoyed it and found it useful.


Sunday 23 August 2020

Summary

I hope you have enjoyed my tips and that your have learnt something new and useful if you have any questions please don't hesitate to ask in the comments below.

Don't forget to send me your photos using these tips so I can display it in my exhibition  at the end of this workshop. I would be grateful if you could also send me photos of you doing the work for my course.  Email me here.

I would also appreciate it if you could complete this short questionnaire for me.


Thank you.


5. Lighting

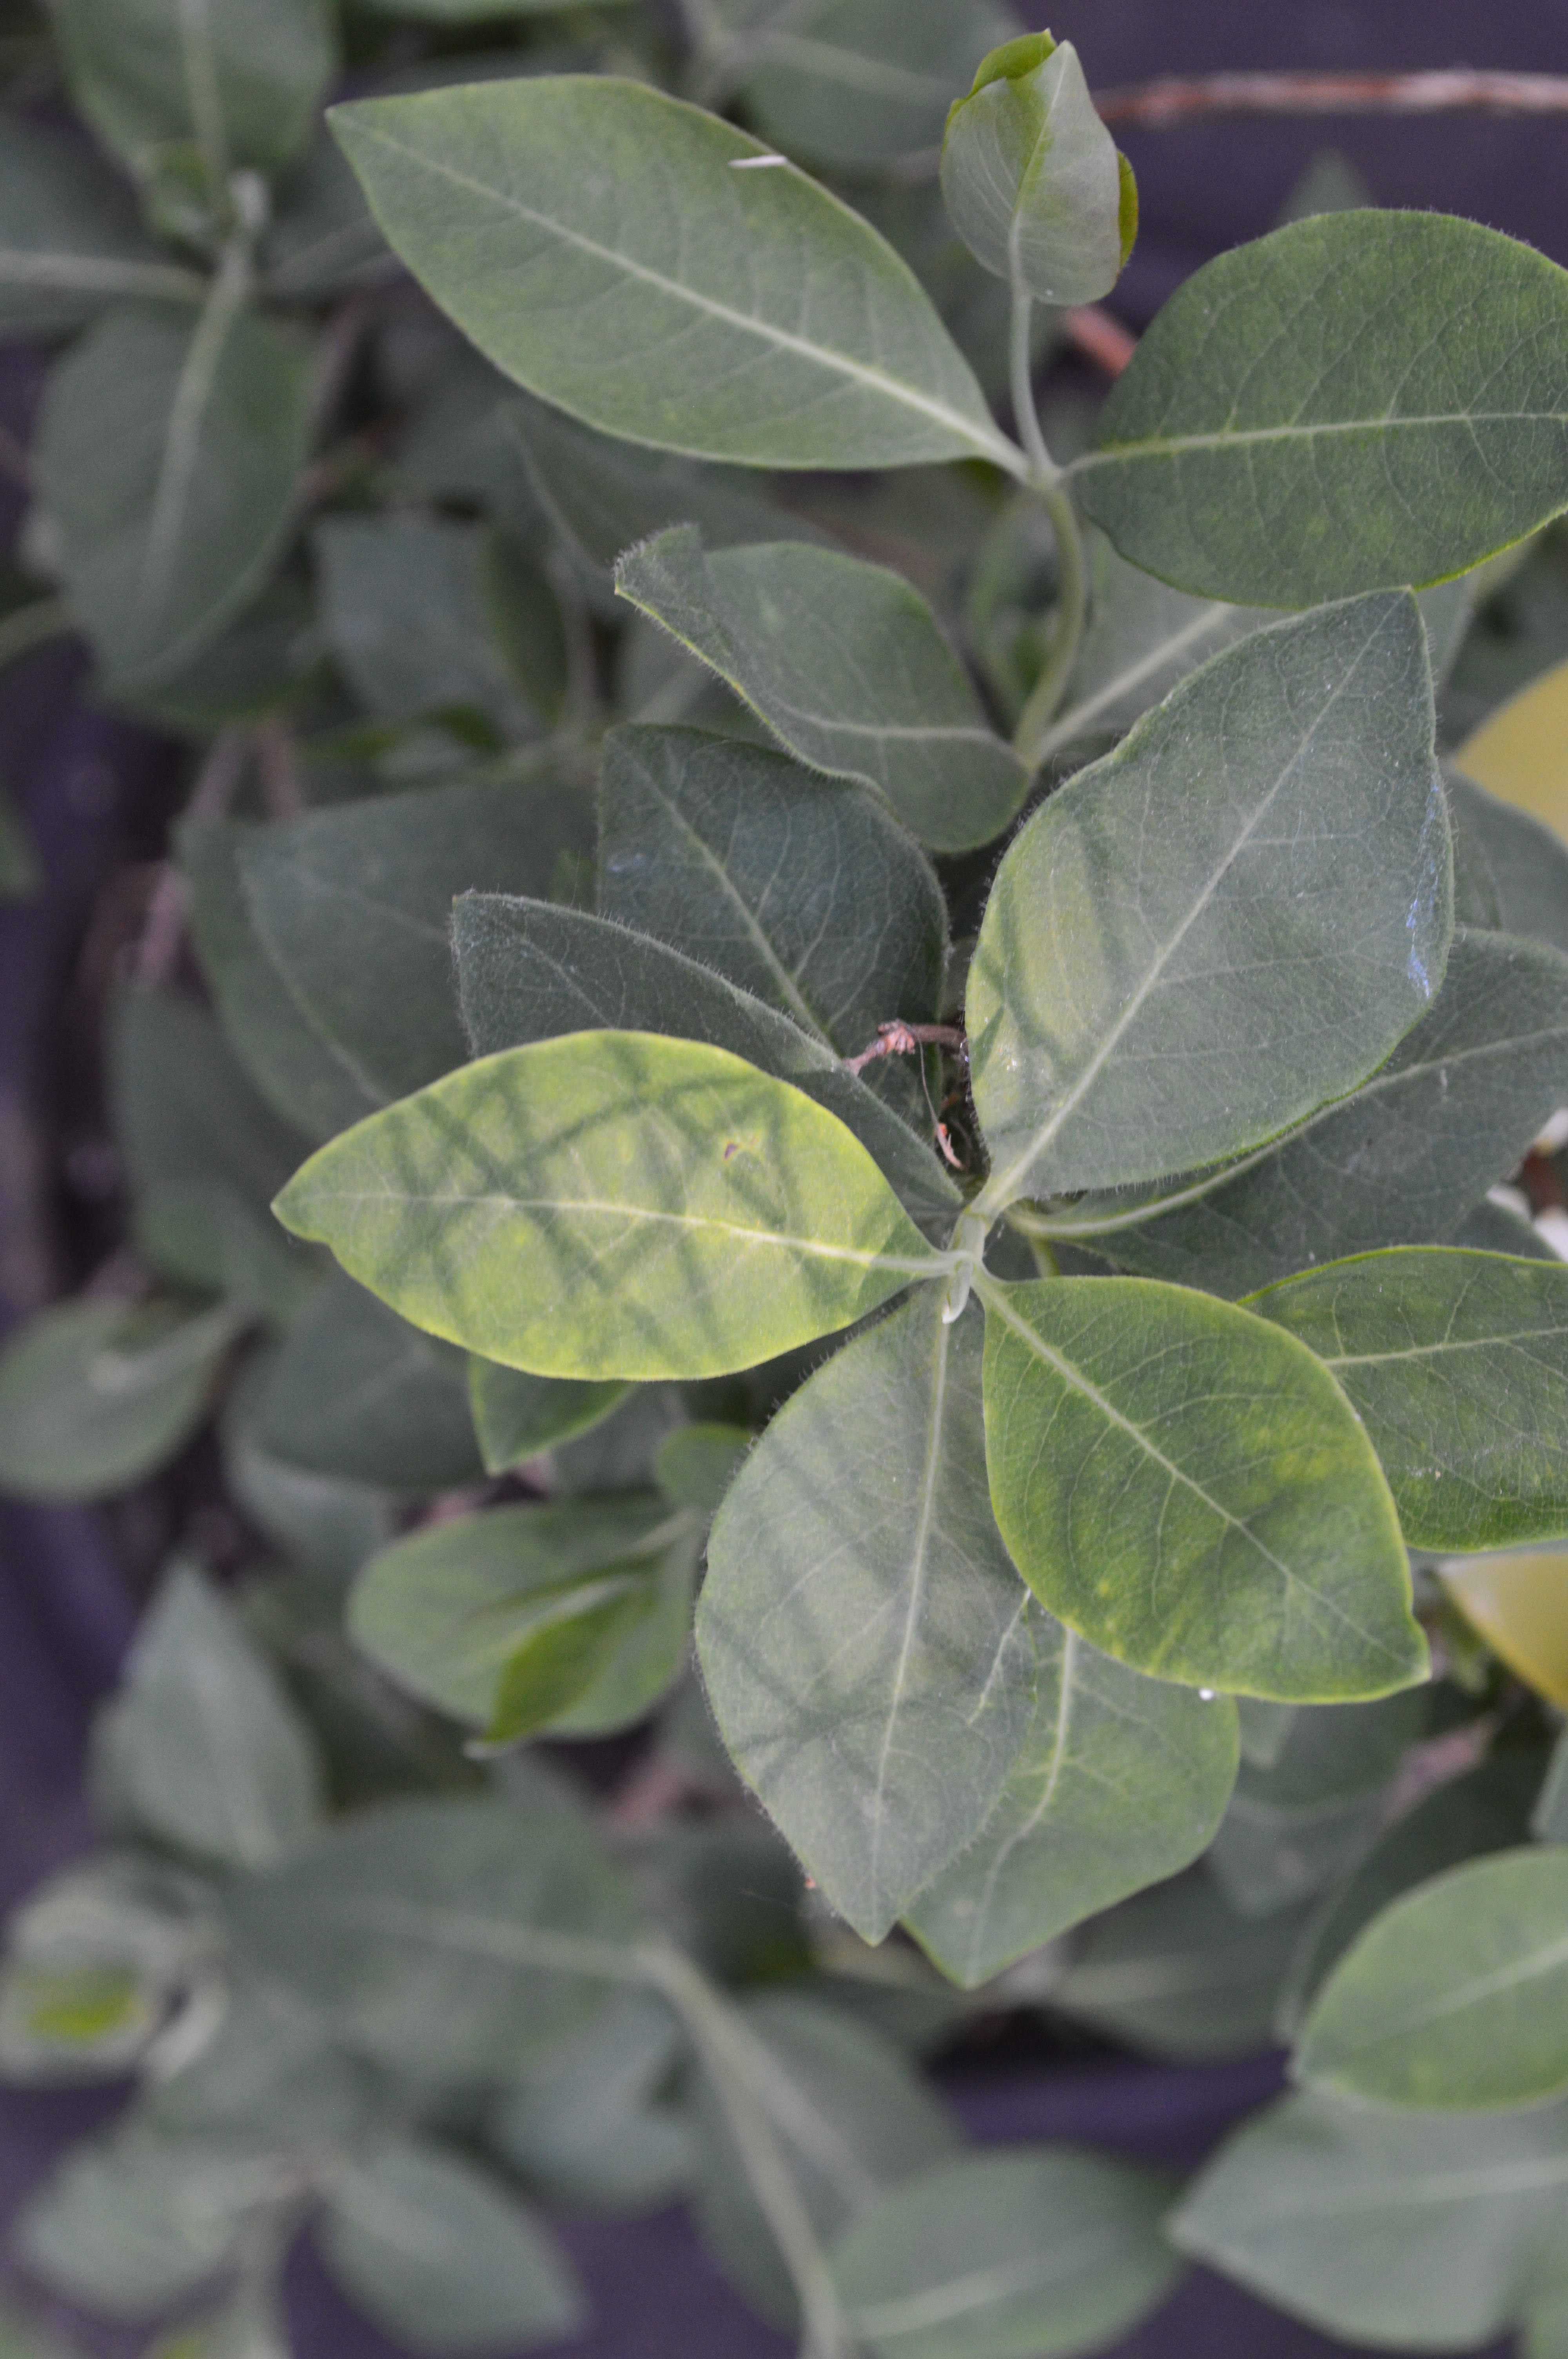
When taking photos it is important to think about light, natural light is better for showing true colours as artificial light tends to give the picture a yellow tone as in the examples below. However sometimes of course you may prefer the look of the artificial light.


Its also important to remember where your light source is, as depending where it is coming from there will be areas of shadow. You can see the differences in these examples of my nephew below.


This one was taken with the light behind him and as you can see his face is quite dark.


In this one the light was coming from the left hand side casting the right side of his face in shadows.


With the light in front of him you can see all of his face clearly because there is very little shadow. (Apologies for the crisp in his mouth I had to bribe him to stand where I wanted him)

Of course depending on the type of result you are hoping for you may choose to have the light coming from a different direction.

Don't forget to send me your photos using this tip so I can display it in my exhibition  at the end of this workshop. I would be grateful if you could also send me photos of you doing the work for my course.  Email me here


4. Changing Perspective

Another way to make your photos more interesting is to change perspective. For example take a photo looking up at your subject instead on at eye level, as in the photo below.  


Or looking down on your subject.


Getting down on the ground will allow you to see more than you normally would, like in the example below, under a fence.


Something else to try is looking at everyday items differently, like this concrete post that I  photographed looking down the side of it.


Remember when taking these types of photos to be especially aware of your surroundings so you don't  have any slips, trips or falls (Its very easy to forget where you are when you're looking through the lens 😒). 

Don't forget to send me your photos using this tip so I can display it in my exhibition  at the end of this workshop. I would be grateful if you could also send me photos of you doing the work for my course.  Email me here

3. Rule of thirds


The rule of thirds can help you create a more interesting photo by positioning the subject of the photo off centre. Using a 3 x 3 grid like the one below you can split your screen into thirds horizontally and vertically.  


On most cameras and phones there will be an option for a grid like this one when choosing the grid-lines, as shown in tip 1.

The subject of your photo should be positioned along the lines or the intersecting points. This  can help you to achieve a better balance between your background and subjects. 

Don't forget to send me your photos using this tip so I can display it in my exhibition  at the end of this workshop. I would be grateful if you could also send me photos of you doing the work for my course.  Email me here

2. Choose a focus point

When taking photos its important to choose which part of the image you want your camera to focus on. This helps you to pick which part of the image you want the viewers eyes drawn to.

In the photos below you can see that although I didn't move the camera and at first glance each photo looks the same, I have changed the focus point in each one so that it is on a different flower in each picture,drawing your eyes to that flower.


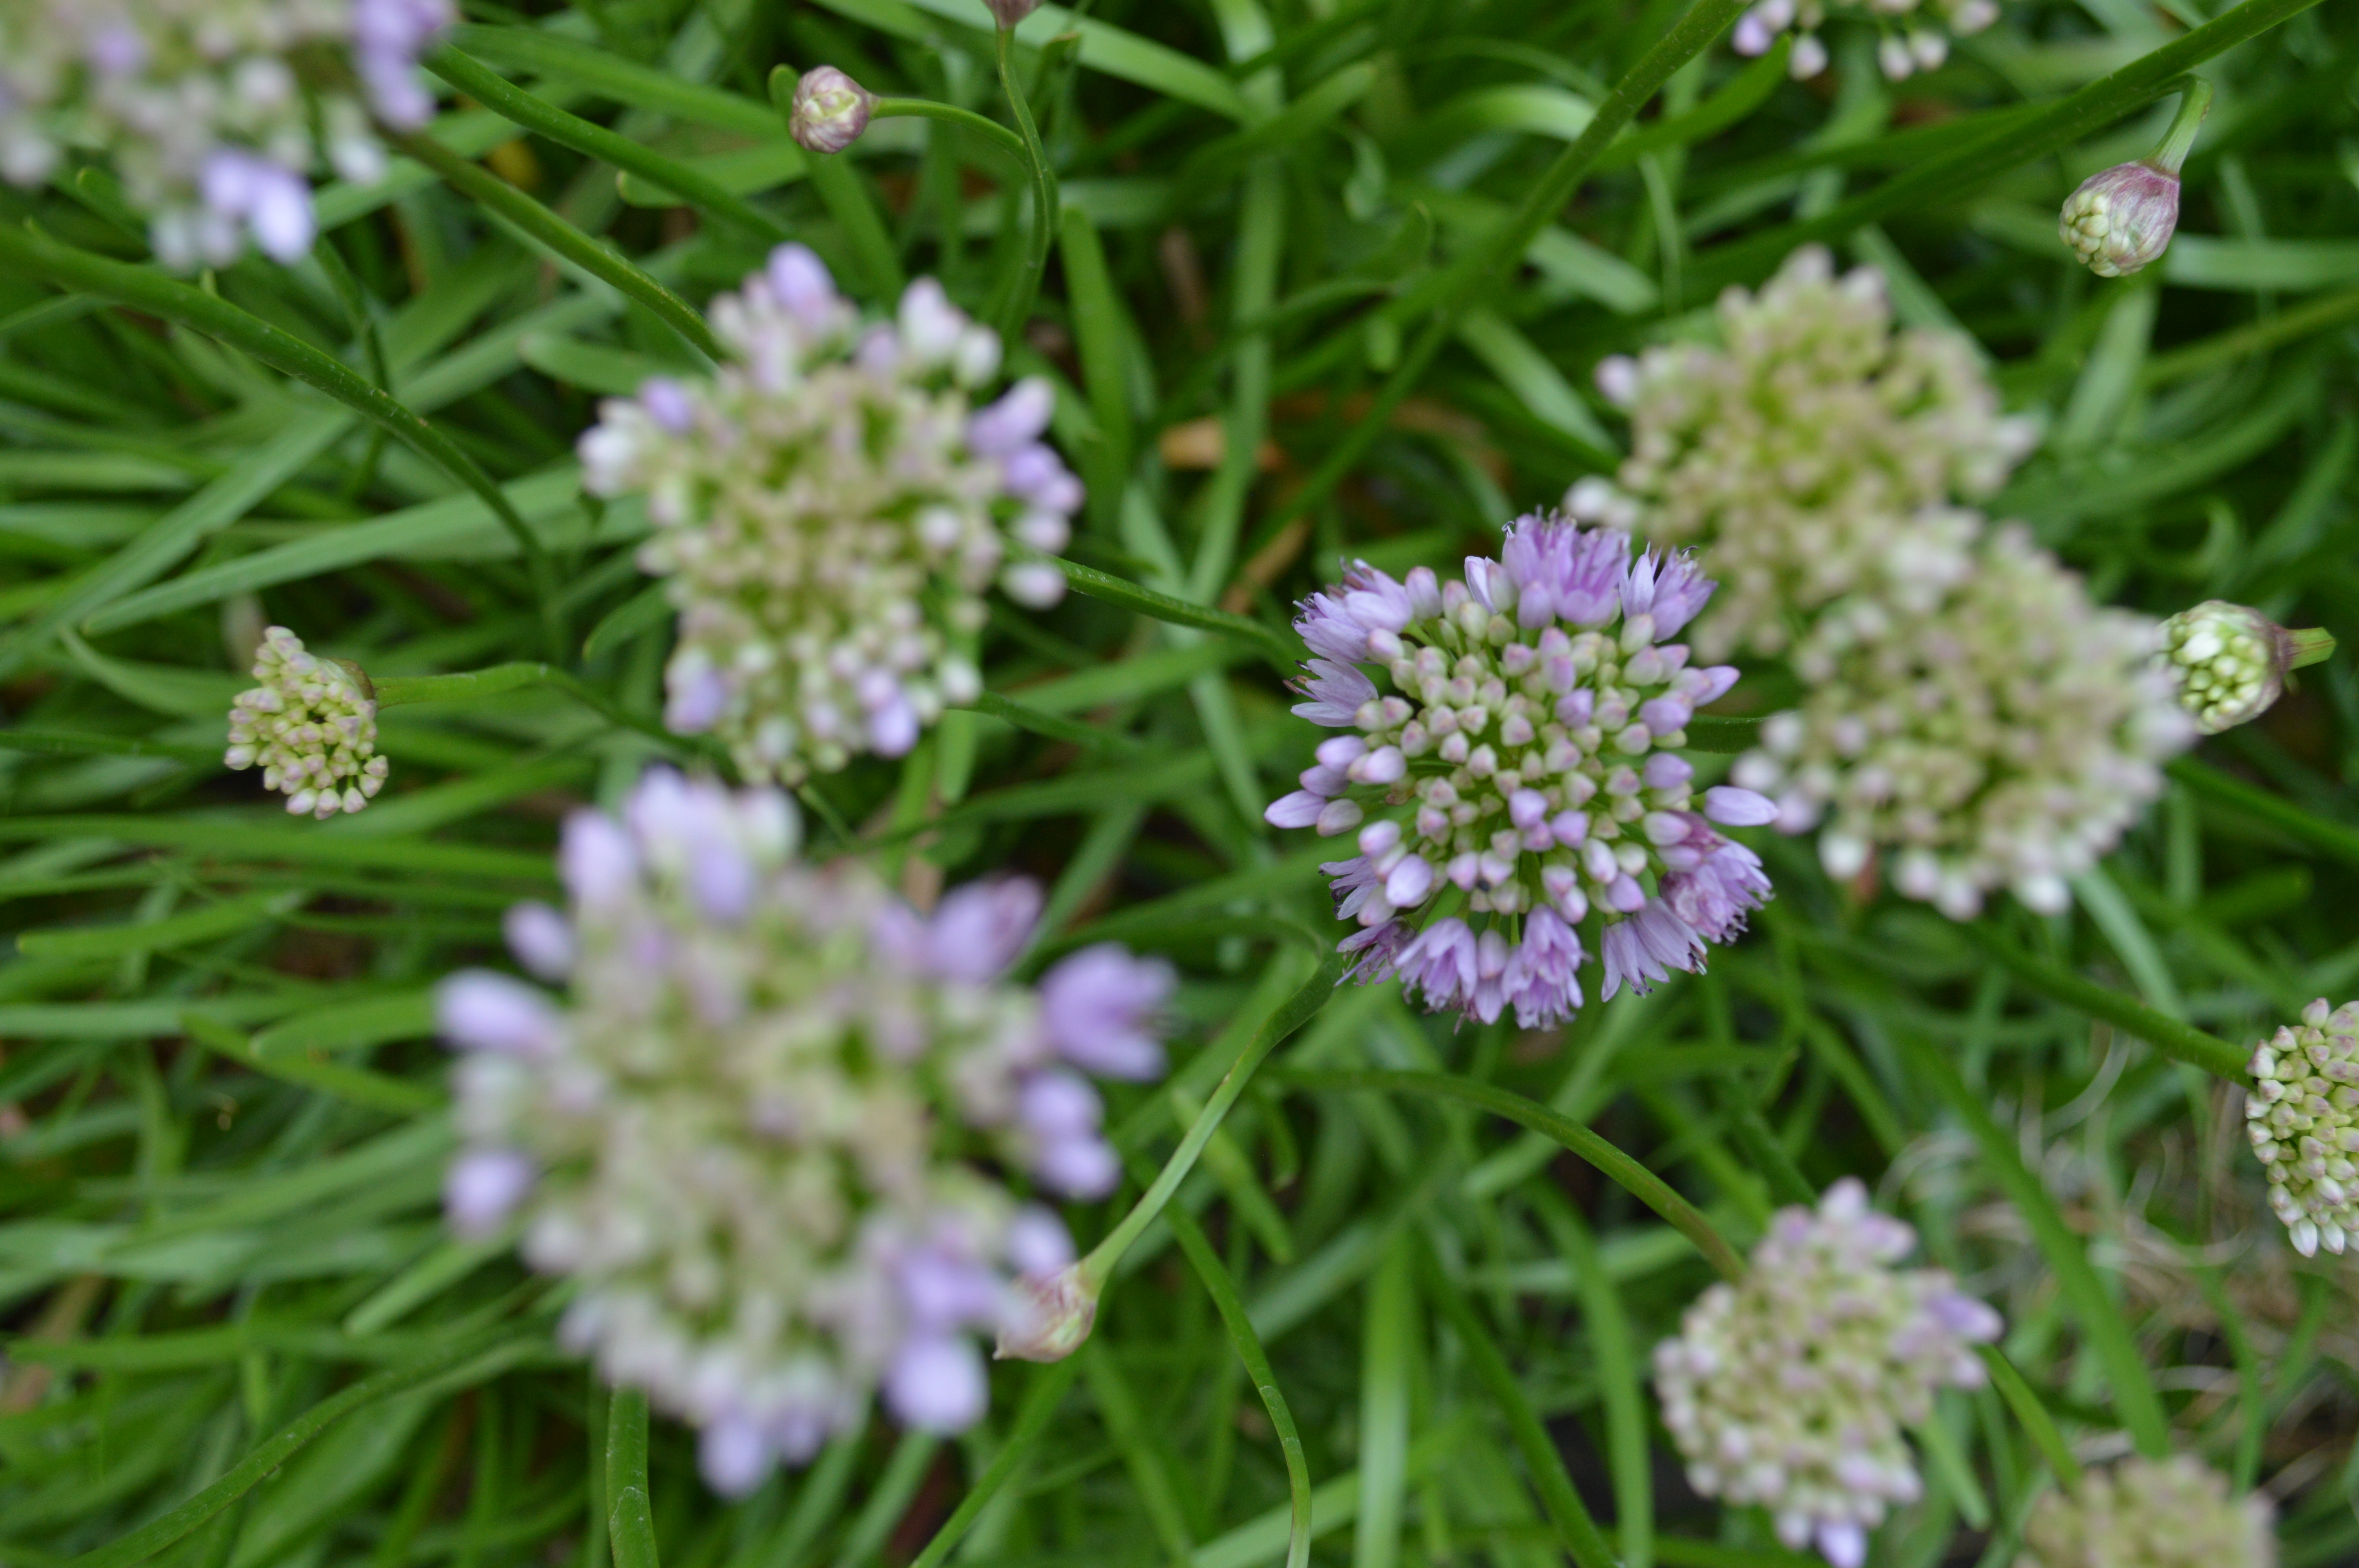
On your phone you should be able to change the focus point by tapping the screen in the area you want to focus on ( focal point of your photo) before taking the photo.

On a camera that has a manual focus lens you would just twist the lens until it is focused on the point you want. If you have an auto focus lens you should be able to move the square focus point using the directional buttons. This of course will depend on your camera and you should check your manual to confirm.

Don't forget to send me your photos using this tip so I can display it in my exhibition  at the end of this workshop. I would be grateful if you could also send me photos of you doing the work for my course.  Email me here

Click here for tip 3.

Saturday 22 August 2020

1. Grid-lines

When taking photos of landscapes, or any photo with a horizontal or vertical line in them, it is easy to take a lopsided photo.
In the photo below I have overlaid a grid to show you how the lines in the photo are not straight. It is important to note that I was using the stone base under the lions as my reference point.


To fix this problem I added grid-lines to my camera, this helped me to straighten out the photo by lining up the horizontal or vertical lines with the grid. In the photo below I have again overlaid a grid to show you how I have straightened the image out.

To add the grid-lines on an android phone go into the settings of your camera and then you should see an option to add the grid.  On most cameras again go into settings and you should have an option for a grid. Unfortunately every phone and camera are different so you may need to check your manual or maybe google instructions for your phone or camera.

Don't worry the grid won't show on your finished photo.

If you still don't think your photo's perfect, you can always straighten it out using the rotate tool on editing software, such as Snapseed on your mobile phone or NCH  Photopad on PC (both of these are easy and free to use).

Don't forget to send me your photos using this tip so I can display it in my exhibition  at the end of this workshop. I would be grateful if you could also send me photos of you doing the work for my course.  Email me here

Exhibition

Here is a video of photos from all the people who participated in my series of photography tips blog posts. Thank you so much for joining in...